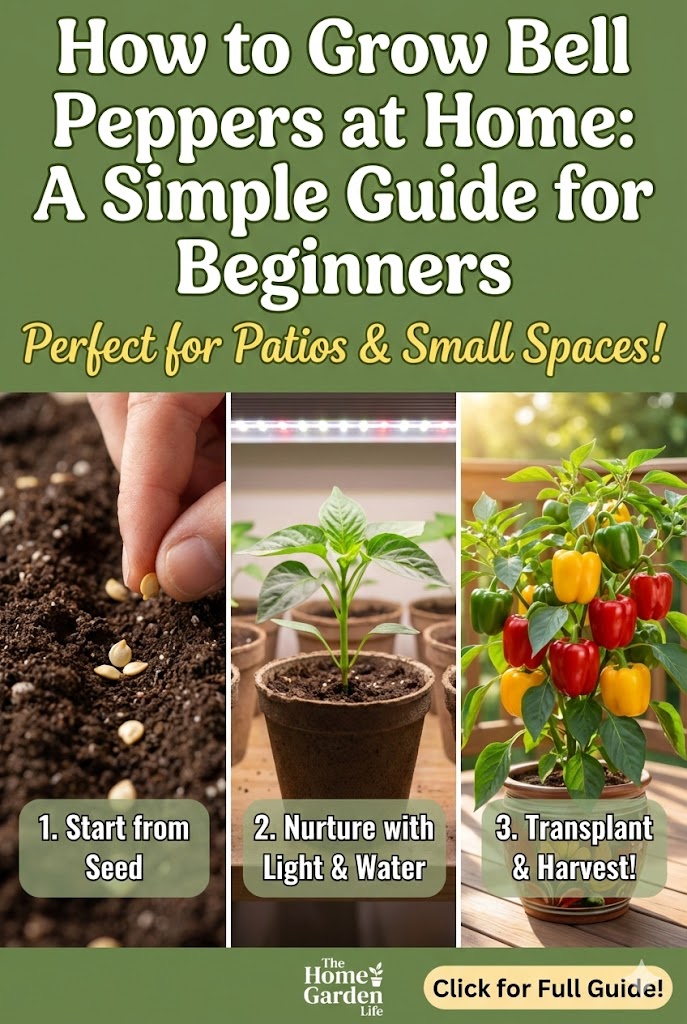
Growing bell peppers at home is one of the most rewarding gardening projects you can start — even if you’re a complete beginner. Bell peppers are colorful, sweet, nutritious, and surprisingly easy to grow once you understand their basic needs. Whether you have a backyard garden, a balcony, or only a sunny windowsill, you can successfully grow your own fresh peppers with the right setup and care.
This practical guide walks you through everything you need to know — from choosing seeds to harvesting crisp, vibrant peppers at home.
1. Why Grow Bell Peppers at Home?
Growing bell peppers isn’t just about convenience — it’s also about taste and quality. Homegrown peppers:
- Have a richer, sweeter flavor
- Are completely free from pesticides
- Cost far less than store-bought peppers
- Thrive easily in small spaces
- Offer continuous harvests throughout the season
Bell peppers also come in a variety of colors: green, red, yellow, orange, purple, even chocolate-brown. All of these can be grown right from your home.
2. Best Bell Pepper Varieties for Beginners
Choosing the right variety makes a big difference, especially if you’re just starting out. Here are some beginner-friendly options:
✓ California Wonder
A classic sweet pepper with thick walls and reliable production.
✓ Sweet Banana Pepper
Fast-growing, slender, and very productive.
✓ Red/Yellow Bell Pepper Mix
Great if you want colorful harvests.
✓ Mini Bell Peppers
Perfect for containers and limited spaces.
✓ Gypsy Peppers
Highly adaptable and disease-resistant.
If you’re growing in pots or indoors, choose compact or dwarf varieties for the best results.
3. Starting Bell Peppers from Seed
Bell peppers grow best when started indoors before being moved outside.
When to Start Seeds
Start seeds 8–10 weeks before the last frost date. Peppers love warmth and won’t grow well in cold soil.
How to Start Seeds Step-by-Step
- Fill seed trays or small pots with a light, well-draining seed-starting mix.
- Plant each seed about ¼ inch deep.
- Water lightly and cover the tray with plastic or a humidity dome.
- Place in a warm spot — peppers germinate best at 24°C–29°C (75°F–85°F).
- Keep the soil slightly moist but never soggy.
- Seeds will sprout in 7–14 days.
Light for Seedlings
Once seedlings appear, move them to a bright windowsill or under grow lights for 12–14 hours a day.
Without enough light, seedlings will grow tall and weak.
4. Transplanting Pepper Seedlings
Once the seedlings grow 2–3 sets of true leaves, they’re ready to move into larger pots or the garden.
Hardening Off
Before transplanting outdoors, gradually expose seedlings to outdoor conditions for 7–10 days.
Ideal Planting Conditions
- Soil temperature: At least 18°C (65°F)
- Air temperature: Night temperatures should not fall below 10°C (50°F)
- Soil pH: Slightly acidic to neutral (pH 6.0–7.0)
- Spacing: 12–18 inches apart
Tip
Add compost or aged manure to the soil — peppers love nutrient-rich beds.
5. Growing Bell Peppers in Containers
Great news: You can grow peppers in pots easily!
Recommended Pot Size
- Minimum: 3 gallons
- Ideal: 5 gallons or more
- Must have drainage holes
Best Potting Mix
Use a blend of:
- 40% quality potting soil
- 40% compost
- 20% perlite or coco coir
This mix keeps the soil airy while holding enough moisture.
6. Light Requirements
Bell peppers require plenty of sunlight to produce fruit.
Outdoor Growing
- Full sun: 6–8 hours per day
Indoor/Container Growing
- Use a bright south-facing window
- Or place grow lights 12–18 inches above the plant
- Keep lights on 12–14 hours daily
Light is directly linked to pepper size, flavor, and production. More light = bigger harvests.
7. Watering Bell Peppers Correctly
Peppers need steady moisture — but not too much.
General Watering Rule
- Water when the top inch of soil feels dry.
- Deep watering encourages stronger roots.
Signs of Improper Watering
- Overwatering: Yellow leaves, droopy stems, root rot
- Underwatering: Leaf curl, small fruits, bitter taste
Mulching
Add straw, wood chips, or dried leaves around the plant to:
✔ Maintain moisture
✔ Reduce soil temperature fluctuations
✔ Prevent weeds
8. Fertilizing Bell Peppers
Bell peppers are moderate feeders and benefit from balanced nutrition.
Best Fertilizers
- Balanced fertilizer like 10-10-10
- Organic compost
- Fish emulsion
- Slow-release granules
Feeding Schedule
- At transplanting: Add compost or slow-release fertilizer
- During growth: Feed every 2–3 weeks
- When fruit sets: Switch to a fertilizer higher in potassium
9. Supporting Your Pepper Plants
As peppers grow, their stems can get heavy.
Use:
- Tomato cages
- Bamboo stakes
- Soft plant ties
Supporting prevents stem breakage and improves fruit quality.
10. Common Problems & How to Fix Them
Even healthy pepper plants can face issues. Here’s how to troubleshoot them:
✓ Blossom End Rot
Cause: Calcium imbalance due to inconsistent watering
Fix:
- Water regularly
- Use mulch
- Avoid over-fertilizing with nitrogen
✓ Pest Problems
Common pests include:
- Aphids
- Spider mites
- Whiteflies
Solution:
Spray with neem oil or insecticidal soap weekly until pests disappear.
✓ Yellow Leaves
Possible causes:
- Overwatering
- Poor drainage
- Nutrient deficiency
✓ Flowers Falling Off
This happens when:
- Temperatures exceed 32°C (90°F)
- Or drop below 13°C (55°F)
Keep plants shaded slightly during extreme heat.
11. Harvesting Bell Peppers
Bell peppers can be harvested at different stages:
Green Stage
- Ready sooner
- Strong, slightly bitter flavor
- Crisp texture
Color Stage (Red, Yellow, Orange)
- Sweeter and richer in nutrients
- Takes longer
- Requires steady warmth
How to Harvest
Use sharp scissors or pruners. Never pull the pepper by hand — it can damage the plant.
12. Tips for Bigger, Sweeter Bell Peppers
- Ensure full sun as much as possible
- Keep watering consistent
- Add Epsom salt (magnesium) once a month (½ tbsp per gallon of water)
- Prune lower leaves to improve air circulation
- Avoid overcrowding
Final Thoughts
Growing bell peppers at home is easier than most beginners expect. With good soil, enough warmth, steady watering, and plenty of sunlight, your plants will reward you with fresh, flavorful peppers all season long. Whether you’re growing them in a garden bed, raised planter, balcony pot, or a sunny indoor setup, peppers adapt beautifully.
Start with a few plants, follow the steps in this guide, and you’ll enjoy a colorful, delicious harvest straight from your home.
One thought on “How to Grow Bell Peppers at Home: A Simple Guide for Beginners”